Salt blocks, often made from Himalayan pink salt, have gained popularity as a unique and flavorful way to cook and serve food. These large slabs of salt are naturally rich in minerals and can be heated or chilled to use as cooking surfaces. Salt blocks add a subtle saltiness and depth of flavor to your food while also being visually striking as serving platters. Whether you're grilling, searing, or serving food, salt blocks are a versatile tool to enhance your cooking experience. Here's how to use them effectively.
What Are Salt Blocks?
A salt block is a large, flat slab made of compressed salt crystals. The most popular type of salt used for blocks is Himalayan pink salt, known for its beautiful pink hue and rich mineral content. These blocks are prized not only for their aesthetic appeal but also for their ability to enhance the flavor of food.
Salt blocks can be used in various ways, both for cooking and serving. They can be heated to high temperatures to cook food directly on the block, or chilled to serve cold dishes. They also impart a subtle saltiness, which makes them perfect for preparing meats, seafood, vegetables, and even desserts.
1. How to Heat a Salt Block for Cooking
Before using your salt block for cooking, it needs to be heated slowly and evenly to avoid cracking. Here’s a step-by-step guide to heating your salt block properly:
Step 1: Clean the Block
Start by wiping your salt block with a damp cloth to remove any dust or debris. Make sure it’s completely dry before heating.
Step 2: Preheat Gradually
Salt blocks should always be heated gradually to prevent them from cracking. Start by placing the block on a cold stovetop or grill and begin to heat it on low to medium heat. If you're using a grill, you can place the block on the grill grates directly. Avoid putting it on a high flame immediately, as rapid temperature changes can cause the block to break.
For stovetop use, heat the salt block on low heat for 10 minutes, then gradually increase the temperature over the course of 20-30 minutes, reaching up to 450°F (230°C).
Step 3: Test the Heat
Once the block is evenly heated, you can test its readiness by placing a small piece of food (like a vegetable or a piece of meat) on the surface. If it sizzles immediately, the block is ready to use.
Note: Himalayan salt blocks can retain heat for hours, so once they’re hot, they will continue to cook food even after you remove them from the heat source.
2. How to Cook on a Salt Block
Once your salt block is heated, it’s time to start cooking! The block will impart a slight saltiness to the food, so you may not need as much added salt. Here’s how to use your salt block for different types of dishes:
Grilling Meat and Seafood
You can use a heated salt block like a grill or stovetop griddle to cook meats, poultry, and seafood. The heat from the block will sear the surface of the food, creating a flavorful crust while infusing it with a subtle saltiness.
- Beef, chicken, or lamb: Simply place the meat directly on the salt block and cook as you would on a grill or pan. For thicker cuts, you may need to flip the meat to ensure even cooking.
- Seafood: Fish, shrimp, or scallops cook quickly on the salt block, and the salt enhances their natural flavors.
Vegetables and Tofu
Salt blocks are also great for cooking vegetables, especially those that can benefit from direct heat, like zucchini, bell peppers, asparagus, and mushrooms. Simply place the sliced vegetables on the block and cook for a few minutes on each side. Vegetables will caramelize slightly while retaining their natural flavors.
Tofu or tempeh also cooks well on salt blocks. The block adds a unique flavor while maintaining a crispy exterior and tender interior.
Eggs and Cheese
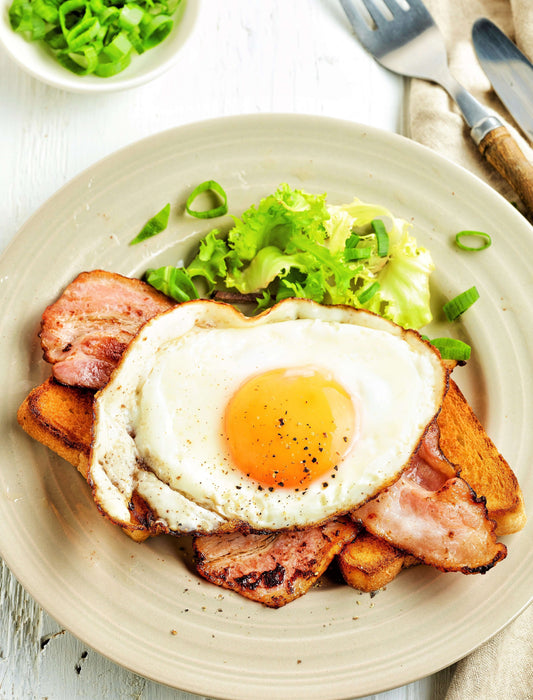
Eggs can be cooked directly on a salt block for a lightly salted flavor. They will cook more evenly than on a pan, and the block can help retain their shape. Similarly, cheese, especially hard cheeses like halloumi or paneer, can be grilled or seared on the block for a slightly salty, crispy texture on the outside while remaining soft and creamy inside.
Searing Fruits for Dessert
Fruits like pineapple, peaches, and watermelon can be seared on a salt block to bring out their natural sugars while adding a hint of salt. A quick sear can create a caramelized exterior, adding a new dimension of flavor to your desserts.
3. How to Chill a Salt Block for Serving
Salt blocks can also be used chilled to serve cold dishes, creating an elegant presentation while subtly enhancing the flavor of the food. The block will stay cold for a long time and can be used to serve appetizers, sushi, cheese, or even desserts.
Step 1: Chill the Block
To chill the salt block, simply place it in the freezer for about two hours before serving. For longer chilling, you can leave the block in the refrigerator overnight. Make sure the block is completely cool before serving food on it.
Step 2: Serve Cold Dishes
Once chilled, the block can be used as a serving platter for sushi, raw vegetables, fruit platters, or cheese boards. The block will keep the food cool and add a delicate, salty flavor to the ingredients.
4. How to Clean a Salt Block
Cleaning a salt block requires a bit of care to ensure it lasts a long time. Here’s how to properly clean and maintain your salt block:
- After each use, let the block cool down completely before cleaning.
- Wipe the block with a damp cloth to remove any food particles or oil.
- If necessary, use a scraper or brush to remove food buildup, but avoid using soap as it can seep into the salt block and alter the taste of your food.
- Dry the block thoroughly before storing.
Store the salt block in a dry, cool place when not in use. Do not store it in direct sunlight or in a very humid area.
5. Benefits of Cooking with Salt Blocks
Using a salt block for cooking has several benefits, both in terms of flavor and health:
- Flavor Enhancement: The natural minerals in the salt block can subtly enhance the flavors of the food without overwhelming it with too much salt.
- Healthier Cooking: Since the salt block can be used to cook food without added fats or oils, it’s a healthier alternative to traditional grilling or frying methods.
- Visual Appeal: Salt blocks are visually stunning and can serve as a conversation piece when serving food at gatherings or dinner parties.
- Long-Lasting: A well-cared-for salt block can last for many years of cooking and serving, making it a durable investment in your kitchen.
Conclusion
Salt blocks are a fun, creative way to cook and serve food, offering a unique method for grilling, searing, and even chilling dishes. Whether you're searing a steak, grilling vegetables, or serving a chilled platter of sushi, a salt block adds a rich, subtle flavor and enhances the cooking experience. With proper care and gradual heating or chilling, a salt block can become a versatile kitchen tool for years to come. Whether you're a home cook or a seasoned chef, incorporating a salt block into your kitchen tools can elevate your culinary game to a whole new level.


